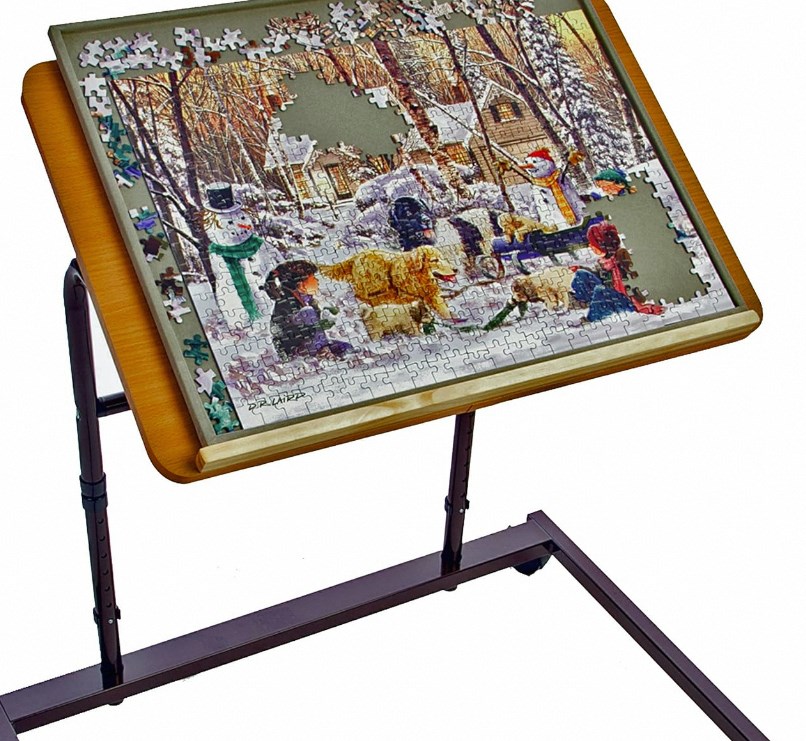
Jigsaw puzzles offer a delightful challenge, a rewarding sense of accomplishment, and a fun way to spend time alone or with loved ones. But have you ever considered creating your own unique puzzle? Using a template, you can transform a cherished photo, a favorite artwork, or even a children’s drawing into a personalized brain teaser.
This guide will walk you through the process of creating your own jigsaw puzzle using a template, taking you from choosing an image to holding the finished product in your hands.
Part 1: Preparing Your Image and Template
Selecting the Right Image:
Selecting the right image is a crucial factor in creating a captivating puzzle. When choosing an image, prioritize high-resolution photos with well-defined details and contrasting colors. Such images enhance the visual quality of the puzzle, making it more engaging and enjoyable to solve. Additionally, images with clear borders and distinct elements contribute to a more cohesive and identifiable puzzle-solving experience. It is advisable to avoid selecting pictures with large uniform areas of color, as they can potentially make the puzzle excessively challenging or frustrating to complete. Instead, opt for images that offer a balanced distribution of colors, textures, and patterns, as this can provide satisfying visual clues when assembling the puzzle. By carefully considering these elements when selecting an image, puzzle enthusiasts can ensure that their puzzles are not only visually appealing but also offer an optimal level of challenge and enjoyment for both casual and avid puzzlers.
Finding a Template:
When looking to acquire a puzzle template, there are several convenient options available. One approach is to access free printable templates from online sources, where a wide variety of shapes and sizes are typically offered. These templates can be easily downloaded and used to create custom-made puzzles at no cost. Furthermore, for those seeking more tailored options, certain puzzle-making websites provide downloadable templates in addition to their printing services. By opting for this route, individuals can select from a range of template designs that suit their specific preferences and requirements. Additionally, it’s essential to consider the desired finished size of the puzzle when choosing a template, as this will directly impact the overall look and experience of the completed puzzle. By carefully assessing these options, puzzle enthusiasts can access suitable templates that cater to their creative vision and puzzle-solving aspirations.
Part 2: Transferring the Image and Cutting
Image Transfer:
Once you have your chosen image and template, it’s time to transfer the image onto the puzzle backing. Here are two methods:
Print & Glue:
Print the image onto heavyweight paper or cardstock. Apply a thin layer of craft glue to the back of the printed image and adhere it to a sturdy cardboard base. Let it dry completely before proceeding.
Spray Adhesive:
Lightly spray a thin layer of repositionable spray adhesive onto the back of the printed image and the cardboard base. Carefully adhere the two surfaces, ensuring no air bubbles are trapped.
Cutting the Puzzle:
With the image firmly secured onto the cardboard backing, it’s time for the fun part – cutting the puzzle pieces! Use a sharp craft knife or a rotary cutter with a new blade for cleaner cuts. Follow the template’s gridlines meticulously, ensuring each piece has a unique interlocking shape.
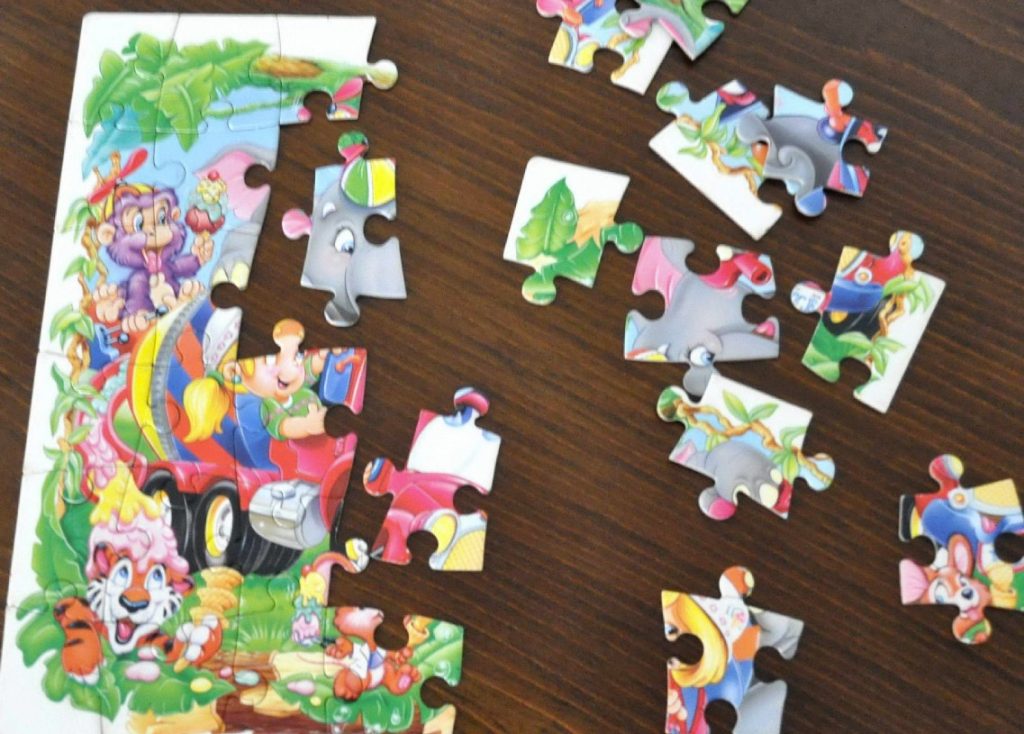
Here’s a pro tip:
To avoid accidentally cutting through the image while creating the puzzle pieces, consider flipping the cardboard over and cutting from the back. This way, you maintain the image’s integrity.
Part 3: Finishing Touches and Enjoyment
Smoothing the Edges:
Once you have completed cutting the pieces for your jigsaw puzzle, it is common to find that some of the edges may have rough or uneven edges due to the cutting process. To ensure that your puzzle pieces have a polished and professional appearance, it is recommended to use a fine-grit sandpaper to gently smooth these edges. By carefully running the sandpaper along the edges, you can create a smoother surface, making it easier to handle and assemble the puzzle. Additionally, smoothing the edges will enhance the overall aesthetic and tactile experience of the puzzle, providing a more enjoyable and satisfying puzzling experience for both the creator and the eventual solver of the puzzle. Taking the time to refine the edges with sandpaper will ultimately contribute to the quality and presentation of the finished jigsaw puzzle.
Personalizing the Back:
You can personalize the back of the puzzle by adding a title, a message, or even the date of creation. This can be a nice touch, especially if you’re gifting the puzzle to someone special.
Now comes the best part – enjoying your creation! Gather your friends and family, or tackle the puzzle solo, and experience the satisfaction of completing your very own personalized jigsaw masterpiece.
Part 4: Taking it Further: Advanced Techniques
Creating “Whimsies”:
Whimsies, also known as figural pieces, are captivating and distinctive puzzle pieces that add an extra layer of challenge and delight to the assembling process. These oddly shaped pieces can take various forms, such as animals, symbols, or unique geometric shapes, and are carefully integrated into the overall puzzle design. These whimsies contribute to the overall theme and aesthetic of the puzzle, adding an element of surprise and curiosity for the puzzler. Creating whimsy pieces can be achieved by incorporating them into the initial template design, carefully planning their placement among the standard pieces. Alternatively, you can craft whimsies by skillfully cutting out interesting shapes from leftover cardboard after creating the main puzzle pieces. Incorporating whimsies into a puzzle design not only adds an additional level of difficulty and enjoyment for the solver but also infuses the finished puzzle with creativity and artistic flair.

Experimenting with Difficulty:
For a more challenging puzzle experience, consider using puzzle-making software that allows you to adjust the complexity of the cuts. These programs offer features like varying knob and knobhole shapes, or even introducing curved cuts for a truly mind-bending puzzle.
So, there you have it! With a little creativity and the help of a template, you can create your own personalized jigsaw puzzle. It’s a fun project for all ages, offering a sense of accomplishment and a unique way to share your favorite memories or artwork with the world.