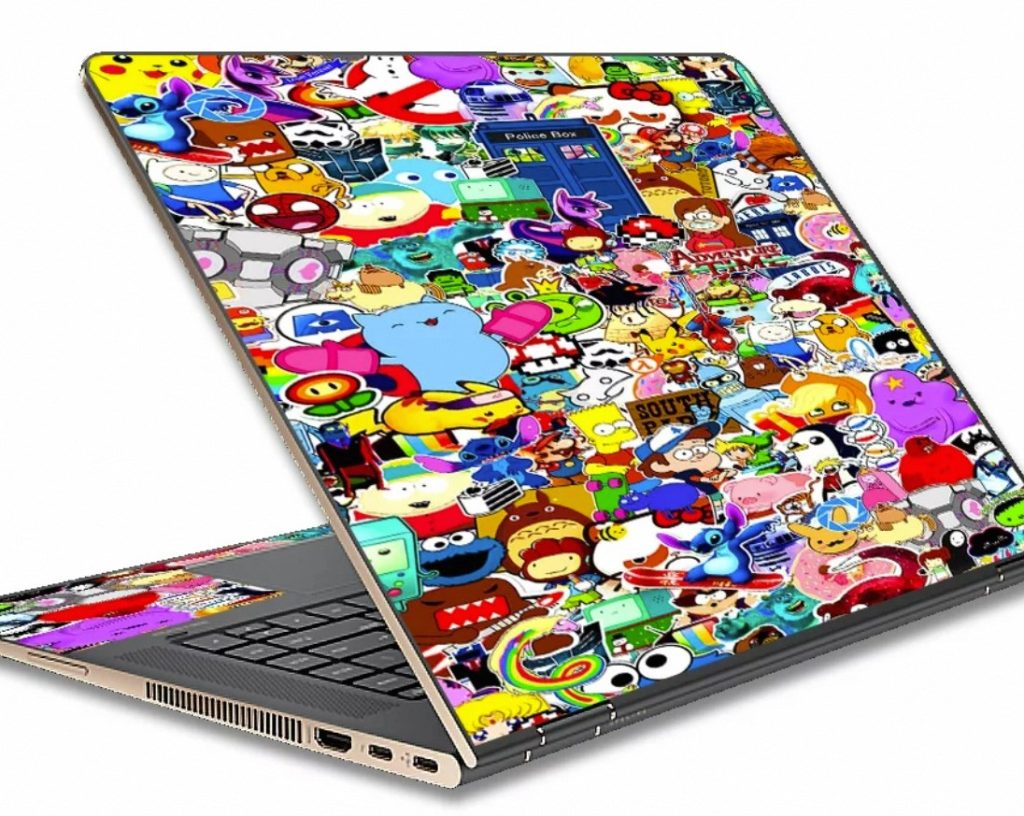
Your PC is more than just a machine; it’s a reflection of your personality and a battle station for conquering digital frontiers. One way to truly make your PC your own is through customization, and custom PC stickers offer a vibrant and affordable way to express your unique style. This guide delves into everything you need to know about creating and applying custom PC stickers, transforming your PC from ordinary to extraordinary.
Part 1: Design Inspiration and Planning
Finding Your Theme:
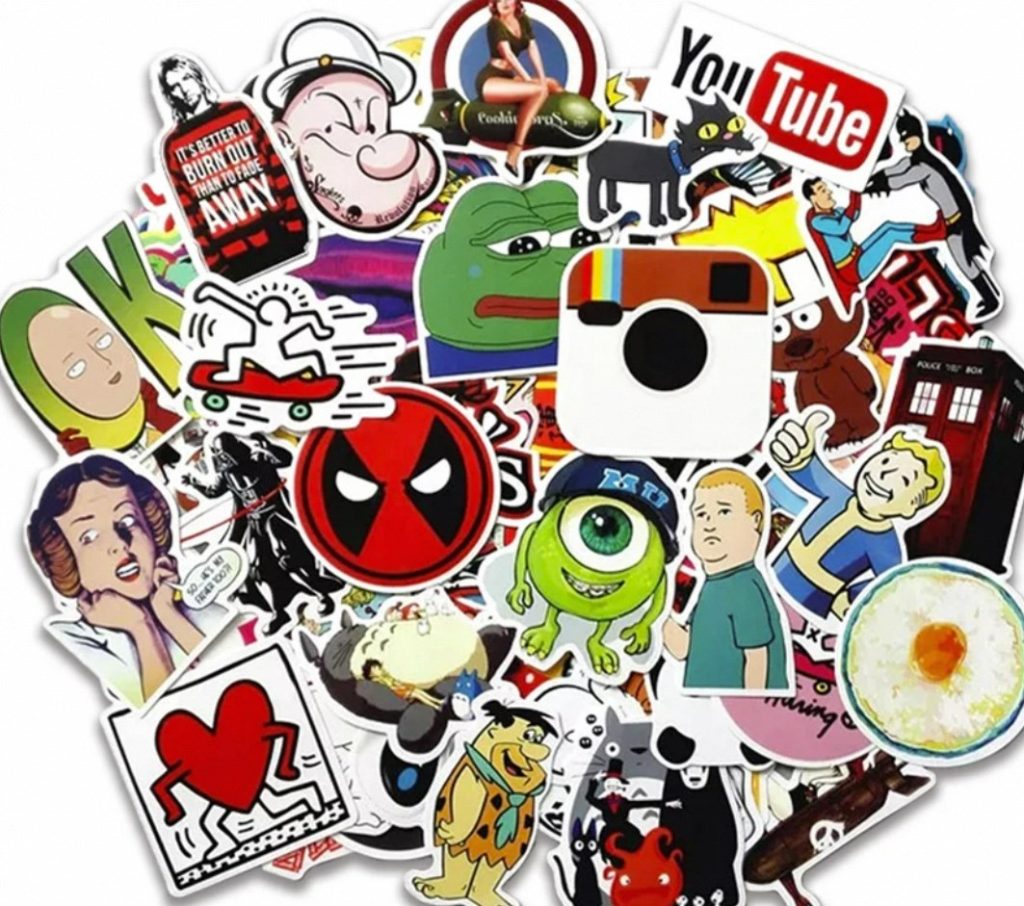
The first step is to brainstorm and solidify your design theme. Do you want to showcase your favorite game characters, flaunt your allegiance to a specific hardware brand, or display a funny meme that resonates with your gamer persona? Popular themes include minimalist logos, intricate artwork, inspirational quotes, or inside jokes within the gaming community. Pinterest and online forums are excellent resources for finding inspiration.
Choosing the Right Software:
Once you have a design concept in mind, you need to choose the right software to bring it to life. For simple designs with text or basic shapes, online graphic design tools like Canva or PicMonkey offer user-friendly interfaces. If you have more advanced artistic skills and want intricate details, consider using professional software like Adobe Illustrator or Photoshop. Remember, the software should cater to your comfort level and the complexity of your design.
Part 2: Technical Considerations and Design Tips
Selecting the Perfect Material:
When it comes to choosing stickers for PC applications, not all options are created equal. In this realm, vinyl emerges as the clear winner. Vinyl stickers are renowned for their durability, water resistance, and exceptional adhesion to smooth surfaces. Additionally, they are available in a variety of finishes, such as matte, glossy, or holographic, enabling you to infuse your personal flair into your PC aesthetics. For those seeking ultimate customization, transparent vinyl is a game-changer, as it allows your PC case’s original color to peek through the design, creating a visually captivating effect. By opting for vinyl stickers, you can not only personalize your PC with eye-catching designs but also ensure that they stand the test of time, retaining their vibrancy and appeal even with regular use.
Optimizing Your Design for Size and Placement:
Before applying stickers to your PC case, it’s important to measure the specific area where you plan to place the sticker. Take into account the curvature of the surface as well as any potential obstructions such as vents or cables. Designing a slightly smaller sticker than originally anticipated can ensure a clean and professional appearance, preventing any awkward overlaps or misalignments. Additionally, consider the overall layout of your stickers and how they will visually complement each other. This includes assessing how different stickers will interact when placed in close proximity, ensuring a harmonious and balanced arrangement. By meticulously planning the placement of your stickers and accounting for the unique contours and features of your PC case, you can achieve a cohesive and aesthetically pleasing look that enhances the overall visual appeal of your computer setup.
Part 3: Printing and Application: From Creation to Completion
Printing Options:
Choose from several printing options after you finalize your design. Many online printing services specialize in custom stickers, offering high-quality printing at reasonable prices. These services typically allow you to upload your design and choose the size, quantity, and material you desire. Alternatively, if you have access to a home printer compatible with sticker paper, you can print your designs yourself. Just ensure you choose the right type of sticker paper for your chosen vinyl material.
Applying Your Stickers with Precision:
Prior to applying your stickers, it’s important to prepare the surface of your PC case. Begin by cleaning the area with a microfiber cloth and rubbing alcohol to ensure that any dust, oils, or residues are thoroughly removed. This sets the stage for a smooth and secure application of the sticker. When it comes to actually applying the sticker, it’s crucial to carefully line it up and apply gentle pressure to ensure it adheres firmly and smoothly. You can remove any air bubbles by using a credit card or a squeegee tool to press the sticker onto the surface, ensuring a flawless finish. Taking these careful steps will not only ensure that your stickers are securely affixed to your PC case but will also help maintain their longevity and visual appeal, providing a professional and polished look for your customized computer setup.
Part 4: Beyond the Basics: Advanced Tips and Inspiration
Die-Cut vs. Standard Stickers:
Standard stickers typically have a standard rectangular or square shape, providing a conventional look for your design. On the other hand, die-cut stickers are precisely cut to the exact shape of your design, offering a more professional and visually appealing appearance. While die-cut stickers are often pricier, they add a premium touch due to their custom shape, making them an ideal choice for those seeking a unique and polished look. When deciding between the two options, it is essential to consider the complexity of your design as well as the desired aesthetic. If you prioritize a sleek and professional finish, die-cut stickers may be the ideal choice, while standard stickers are suitable for simpler designs and more budget-conscious projects. Ultimately, understanding the differences between these options allows you to select the best fit for your specific design needs and budget.
Matching Your Stickers to Your PC Build:
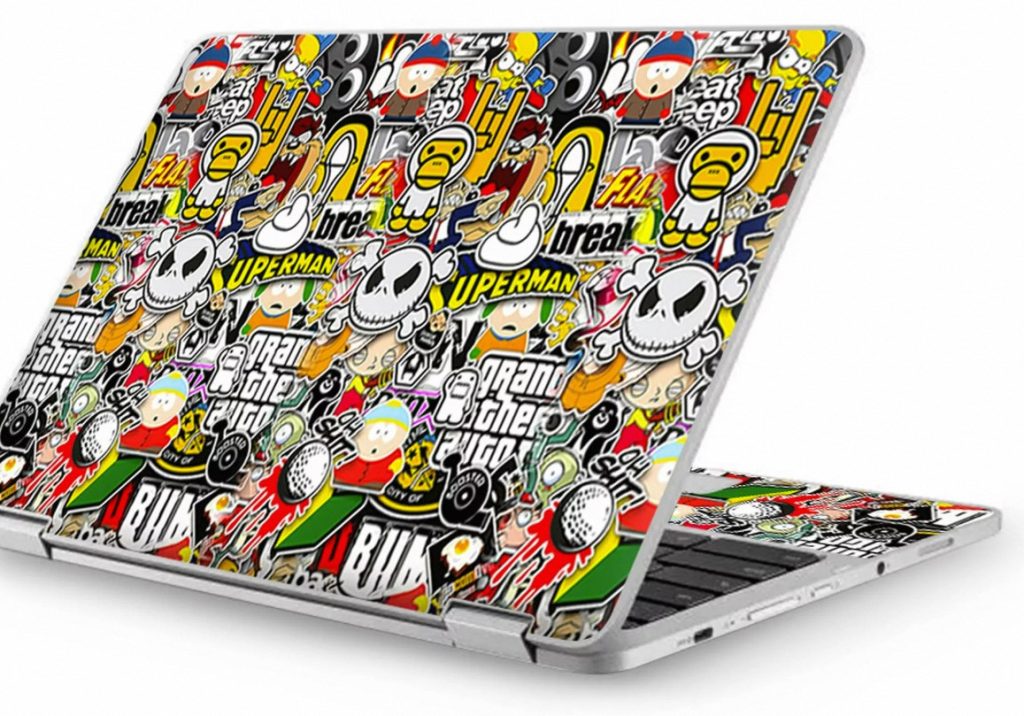
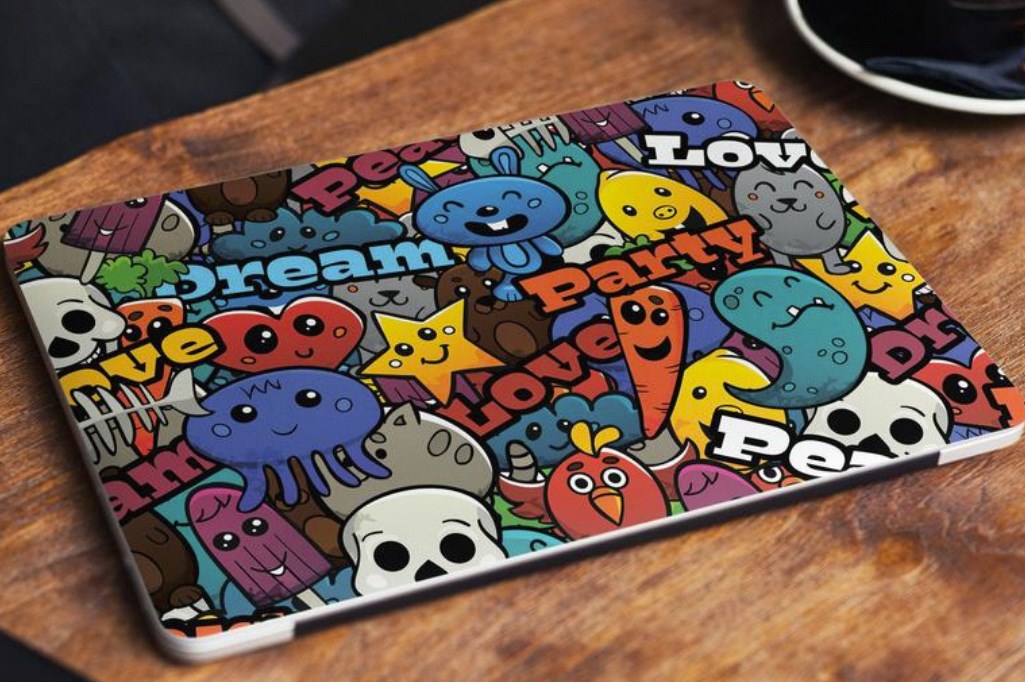
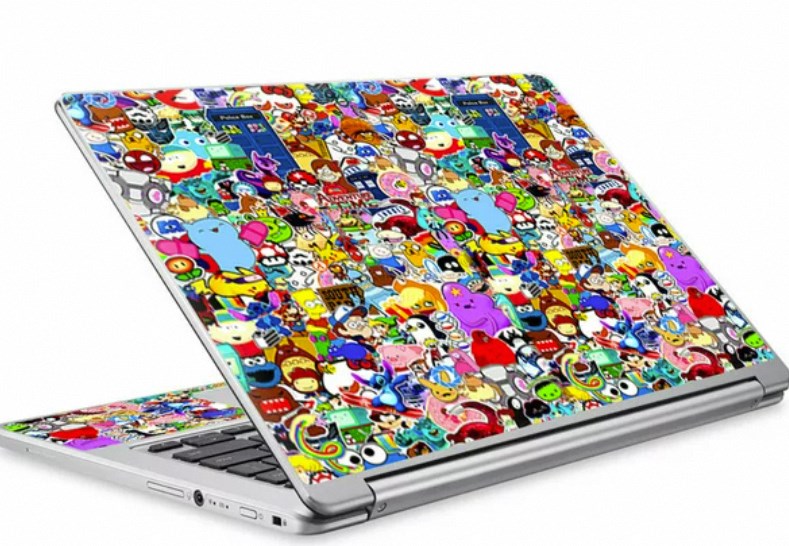
For a truly cohesive look, consider coordinating your sticker theme with the overall aesthetic of your PC build. For instance, if you have a red and black color scheme, opt for stickers with similar colors. Alternatively, you can use stickers to create a specific theme, such as a futuristic space station or a vibrant underwater world. The possibilities for customization are endless!
By following these steps and unleashing your creativity, you can transform your PC into a personalized masterpiece. Custom PC stickers are a fun, affordable, and expressive way to showcase your individuality and bring your digital haven to life. So, grab your design software, choose your favorite theme, and get ready to express yourself through the power of stickers!